

Of all the handmade projects I did for my friend's baby shower, this one was one of my favorites. It's SO easy, everyone can do it. To make this door banner, you'll need a fragment of linen, a pack of Sharpies, and a wooden dowel.
I started with a design that I made on the computer. I used Adobe Illustrator, but you could use any program (including the basic, boring Microsoft Word).

Since I can't print out a sheet of paper measuring 26 x 18 inches on my tiny home printer, I printed my design in "tiles". Then, I taped each sheet of paper to the window:

Next, cut a piece of linen to size (mine was 18 x 26 inches). I used a fragment of ivory linen that I had laying around my office, but any simple fabric remnant will do.
Layer the cut linen over your design and TRACE. Yes, trace. It's as simple as that!!!
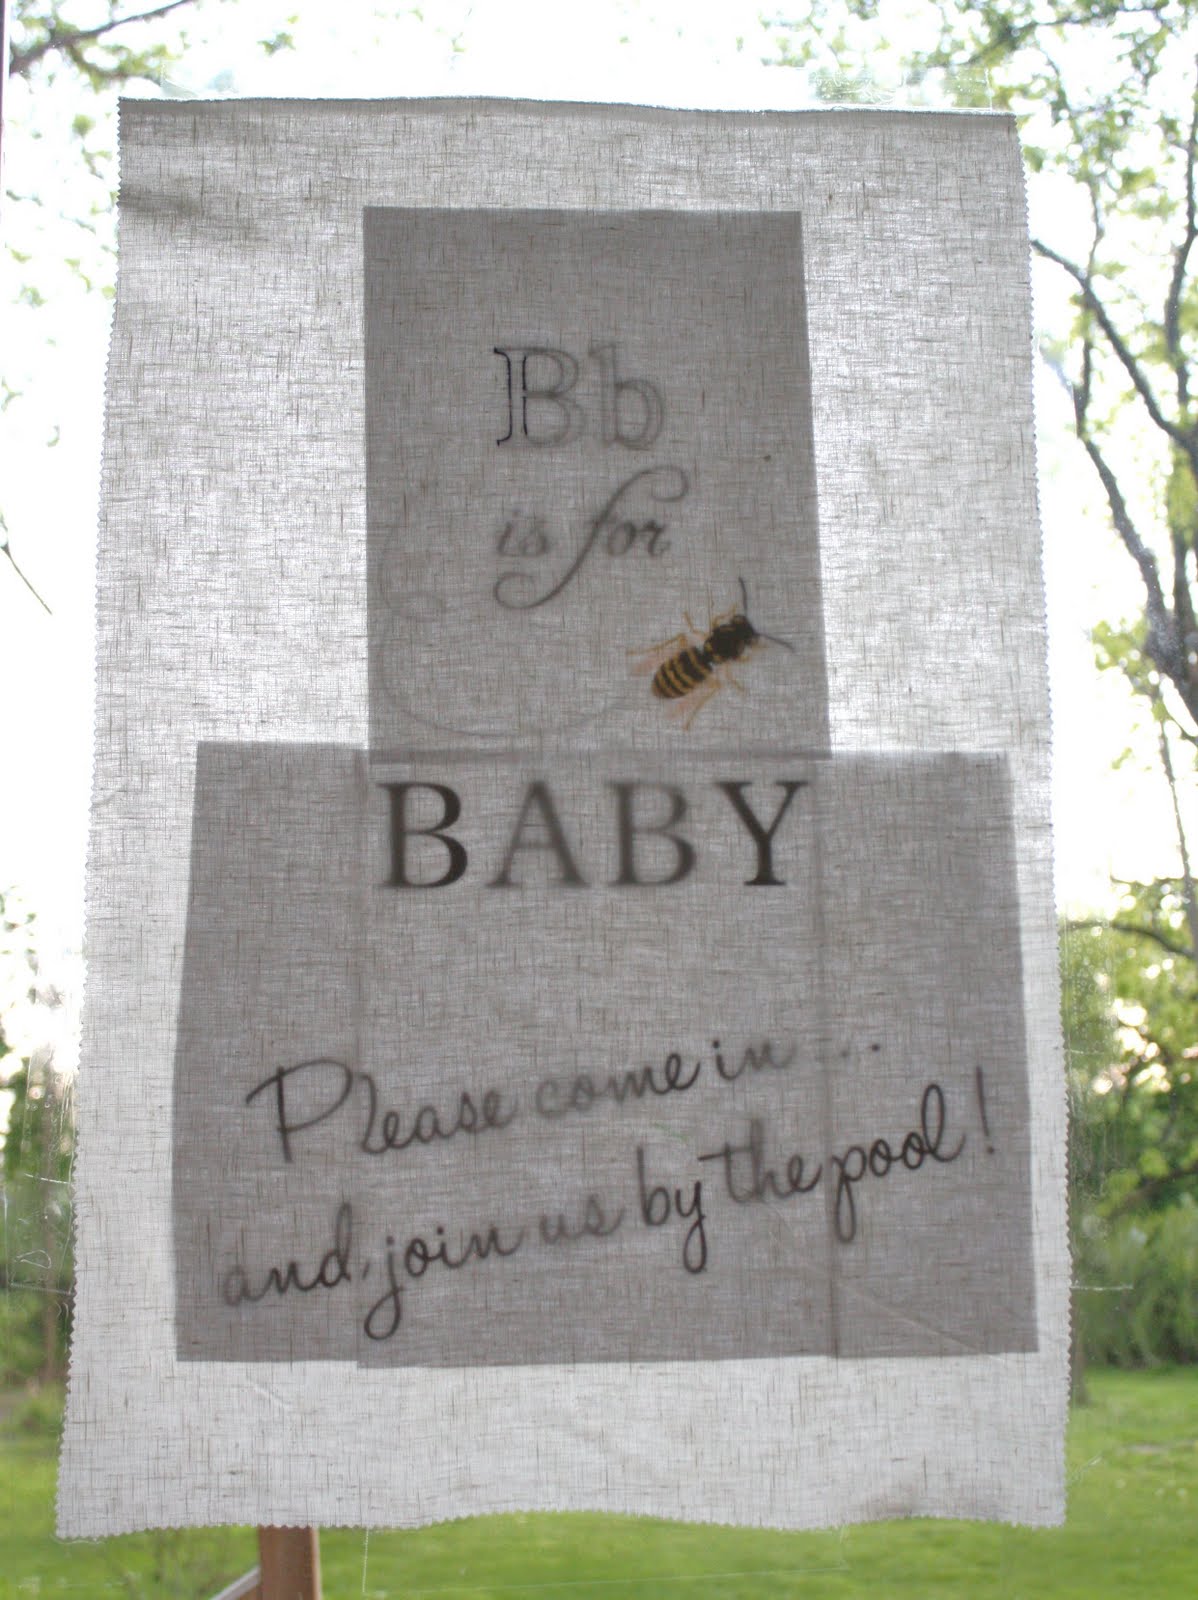
I used these Sharpie markers. Ultra-fine point is the best and will give you the most control on those fine fonts... also, I was thrilled to see how the pigment was absorbed by the linen. The black was nice and dark, and the yellow was well saturated. I had initially thought about painting the banner, but using Sharpies was about one thousand times easier. And, much cleaner.


(picture taken after I had finished tracing the design, and before I had given this thing a good iron)
Next, you'll need to attach your banner to a hanging dowel. I purchased mine at this fine establishment:

where, clearly, everything's $1.00

including this plastic flag, which was attached to lovely wooden hanging dowel:

I kindly removed the flag, and using fabric glue (I like Fabri-Tac), glued the top edge of the banner to the dowel. Then, I rolled the fabric over the glue line for about 1 inch (to hide the messy glue and create a clean look).

You're done!

It doesn't get any easier.
Wouldn't this be a fun little project for birthday parties?
...
*first image and last two images, courtesy of Amanda Bevington Modern Photography*


No Comments Yet, Leave Yours!
This is such a great idea. It's the kind of small detail that makes everything more special. "I kindly removed the flag ...." Too funny!
So cute and easy! I never would have guessed that you traced it! I'll have to try this for my baby boy's 1st birthday.
This is so inspiring! Makes me want to go out and make something...
Love your blog!
Challie
http://cts861.blogspot.com/
Love this! Great job.
The most amazing idea I will pass on to my brides. I love your blog all the way over the pond in the UK. I have a vintage styling site so always on the look out for new ideas. Thank you x
Do you mind telling me what fonts you used for this?
love this! can you please tell me what type of yellow streamer you used and where you got it?! love how you used it throughout the shower decor. thanks!
love this! can you please tell me what type of yellow streamer you used and where you got it?! love how you used it throughout the shower decor. thanks!
I love everything about this baby shower. Where did you find the graphic of the bee? I've been looking for something to use for an invitation and all I can find are really cartoony ones. Thanks!
I love everything about this shower! Where did you find the graphic of the bee?
I love this! I decided to make one for my shower too...I am not coordinated enough to print the tiles (technologically coordinated) so I had an "engineer print" made at Staples 18"X24" for $1.79!! Best two dolars I ever spent!
Fabulous ideas! What a great blog?! I am actually working on this for my girlfriend's baby shower. Can you tell me how exactly you printed this off in "tiles"? I am sure it's something simple that I am missing. Thanks!!
Thanks for the comments, everyone! To answer a few questions...
- the Bumble Bee image was found in the database of clipart that came with my Adobe Illustrator software. But, you could use any type of clipart. So easy.
- I can't remember how I printed the banner in tiles, but I know it was an option in my printing preferences. I used Illustrator, so there might be more options than Microsoft Word, but check out the preferences. There's probably a "tile" option. And, if all else fails, take the file to Staples and have it printed on large paper for a couple of dollars.
- I bought the yellow fabric ribbon at a flea market for $1.00. Now that it's gone, I WISH I COULD BUY MORE. It was fabulous.
Hope this helps!
xx
Kelly
Post a Comment